Tips
How can I check the destination of the data scanned with Sharpdesk Ver.3.5 Network Scanner Tool? (Tips No.01490)
![]()
Sharpdesk Ver.5.1
Follow the procedure below to check the destination of the scanned data which is made using Sharpdesk Ver.3.5 Network Scanner Tool.
Procedure
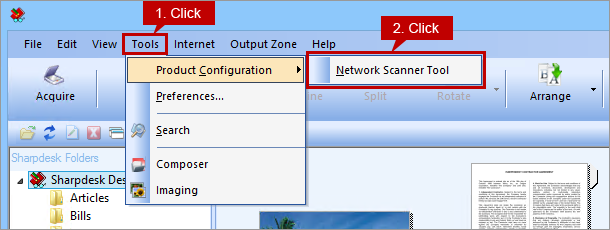
1. Start Sharpdesk and click [Tools] on the menu bar then click [Network Scanner Tool].
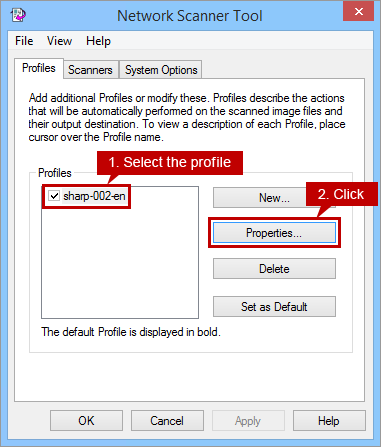
2. Network Scanner Tool profile screen will appear. Select [Profiles] tab then click [Properties...].
Profile (destination) Example: sharp-002-en
3. "Properties for Profile" screen will appear. Make sure that the check box for [Move File to Folder] in "Output Options" section is checked then click [Details...].

4. "Send to Folder" screen will appear and the destination of the scanned data is shown in the text box of [Move File to this folder].
Example of [Move File to this folder]: C:\Users\sharp\Documents\Sharpdesk Desktop

Now you have checked the destination of the scanned data which was made using the Network Scanner Tool.
Make backup copies of those files if necessary.