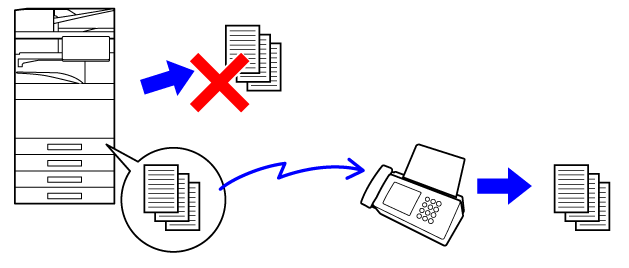
When the machine cannot
print because it is out of paper or out of toner, received Internet
faxes are forwarded to another previously registered Internet fax
address (including direct SMTP).
Tap the [Settings] key on the Home screen.
Select the [System Settings] key and tap the [Image Send Settings] key.
Tap the [Fax Data Receive/Forward (Manual)] key.
To start forwarding, tap the [Execute] key of "Forward Received Data" in "I-Fax Settings".
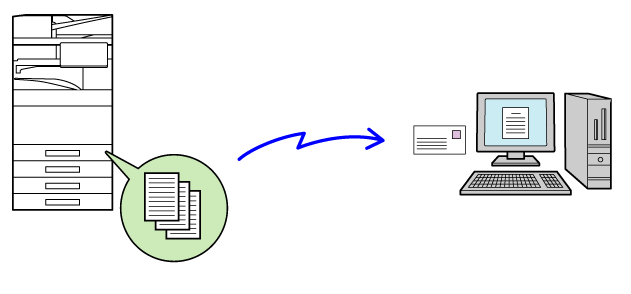
Received Internet faxes
are automatically forwarded to a fax destination number, an Internet
fax address, an e-mail address, a file server address, a desktop
address, or a network folder address.
Received data can be forwarded to the specified destinations
without being printed.
In "Settings (Web version)", click [System Settings] → [Image Send Settings] → [Inbound Routing (Forwarding/Storing) Settings] → [Administration Settings].
In "Inbound Routing", select [Enable] and click the [Submit] button.
 .
.Click [Sender Address Registration] in the [Inbound Routing (Forwarding/Storing) Settings] menu in the "Settings (Web version)".
Enter the sender address or fax number in "Internet Fax Address" or "Fax Number" as appropriate, and click the [Add to List] button.
The sender address or number you entered will be added to the "Address to be Entered" list.When you have finished adding addresses, click the [Submit] button.
Click [Inbound Routing Settings] in the "Inbound Routing (Forwarding/Storing) Settings" menu in the "Settings (Web version)" menu and click the [Add] button.
Enter a "Table Name".
Select the sender whose faxes will be forwarded.
Select the forwarding conditions.
 ) of the desired day of the week. To specify
a time, select the [Set Forwarding Time] checkbox (
 ) and specify the time.
Select the file format.
The format can be set separately for each forwarding address (for each of forwarding addresses 1, 2, and 3 in the table).Select the recipient from the address book.
You can specify multiple registered addresses or telephone numbers from the address book of the machine.Enter a recipient directly and specify the recipient.
Click [Submit].
Click [Inbound Routing Settings] in the "Inbound Routing (Forwarding/Storing) Settings" menu in the "Settings (Web version)" menu.
From the forwarding table, select [Forward to All Forward Destinations] or [Forward based on Forward Condition].
Select [Always Forward] or [Forward received data only on specified days.] from the forwarding table.
The forwarding permission settings that appear here are linked to the forwarding conditions set in step 9. ) and click [Delete].
Click [Submit].
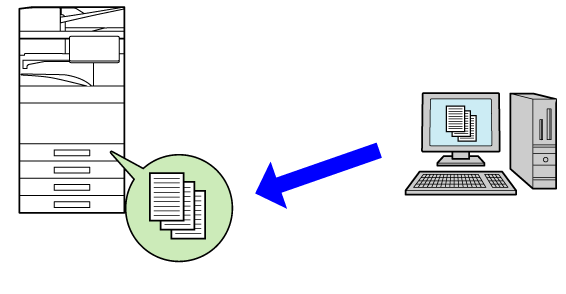
Received faxes can be saved
to the machine's local drive. Saved faxes can be viewed on a computer.
Set PDF, TIFF (multi) or TIFF (signal) for the saved Internet
faxes.
You can also receive notification of the storage result or
storage folder by E-mail.
Received faxes are saved in the following directory:
\\MFP\faxreceive
In "Settings (administrator)", click [System Settings] → [Network Settings] → [Public Folder / NAS Setting]. (Administrator rights required.)
Select [Allowed] in "faxreceive:Use of Storage" and click the [Submit] button.
In Setting mode (administrator), click [System Settings] → [Image Send Settings] → [Inbound Routing (Forwarding/Storing) Settings] → [Inbound Routing (Storage) Settings] → [Settings for Local Drive Storing of Received Data]. (Administrator rights required.)
Received faxes can be forwarded manually
after receipt.
This function is available when [System Settings] → [Image Send Settings]
→ [Common Settings] → [Condition Settings] → [Preview Setting] → [Received Data Image
Check Setting] is enabled
* in "Settings (administrator)".
* The factory default setting is disabled.
When data is received, is shown at the top of the screen.
In the System Information, tap the [Check Received Data.].
The received data is listed.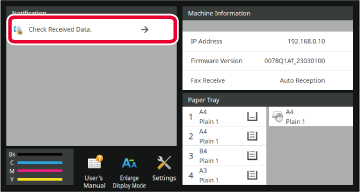
Tap the key of the received data you wish to forward, and tap [Forward to Other Address].
 to show thumbnails of received images (Thumbnail
screen). The list view or thumbnails view can be changed depending
on the setting mode.
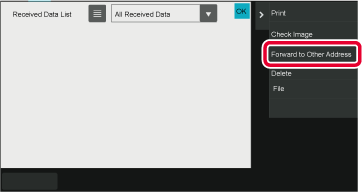
Select the destination from the Address Book screen, and tap the [Start] key.
Version 06a / bp70c65_usr_06a_en