Tips
How can I check the destination of the scanned data made with Sharpdesk Ver.5.1 Network Scanner Tool? (Tips No.01491)
![]()
Sharpdesk Ver.5.1
Follow the procedure below to check the destination of the scanned data which is made using Sharpdesk Ver.5.1 Network Scanner Tool.
Procedure
1. Start Sharpdesk and click the button in the menu list on the right side of the screen.
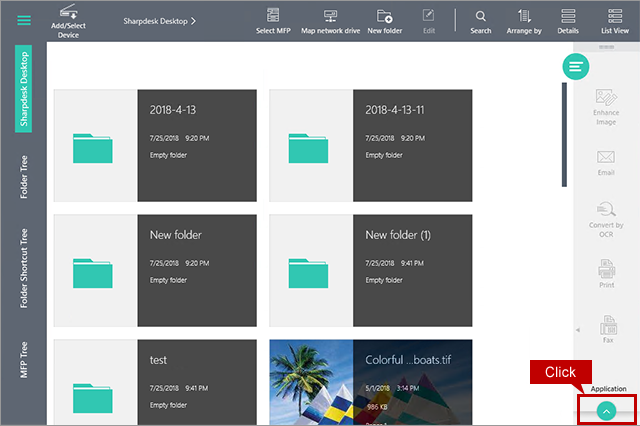
2. The list of applications will appear. Click [Network Scanner Tool].

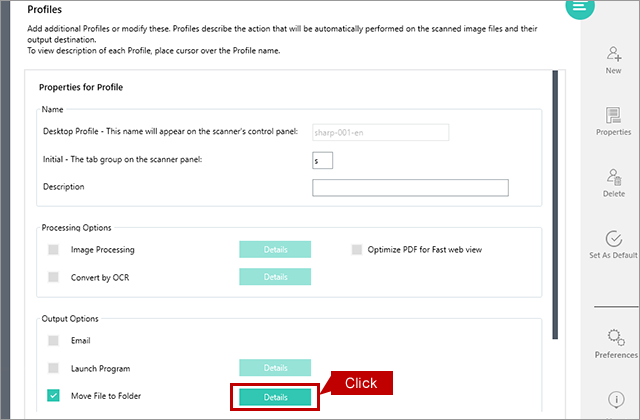
3. "Profiles" screen will appear. Select a profile then click [Properties] in the menu list on the right side of the screen.
Profile (destination) Example: sharp-001-en

4. "Properties for Profile" screen will appear. Make sure that the check box for [Move File to Folder] in "Output Options" section is checked then click [Details].
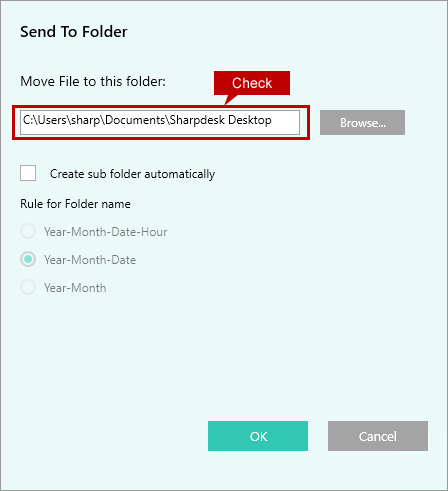
5. "Send to Folder" screen will appear and the destination of the scanned data is shown in the text box of [Move File to this folder:].
Example of [Move File to this folder]: C:\Users\sharp\Documents\Sharpdesk Desktop
Now you have checked the destination of the scanned data which was made using the Network Scanner Tool.
Make backup copies of those files if necessary.