When the original size is a non-standard size or is
not detected correctly, manually specify the original size.
Set the orientation of the image to ensure that the orientation
of the placed original is correctly recognized.
By specifying the starting
side (top or left side) of the placed original, the orientation
of the original will be correctly recognized.
Finishing position settings and N-Up layout settings are specified
using the recognized orientation.
|
In Easy mode 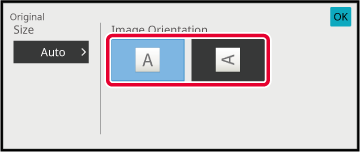 |
|
In Normal mode 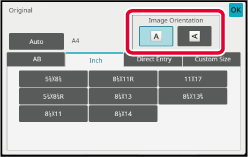 |
Tap the [Original] key to set the orientation of the original.
COPY MODETap the [Auto] key.
Tap the appropriate original size key.
After the settings are completed, tap [OK] key.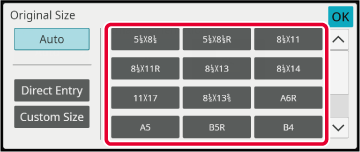
Tap the [Original] key to set the orientation of the original.
COPY MODETap the [Auto] key.
Tap the [Direct Entry] key.
Specify the original size.
After the settings are completed, tap [OK] key.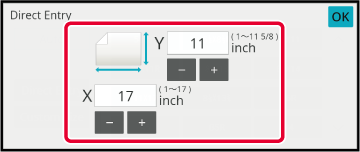
 to finely adjust the entered size.
Tap the [OK] key.
Make sure that the original size you have set is displayed in the upper left corner of the screen.Version 06a / bp70c65_usr_06a_us
