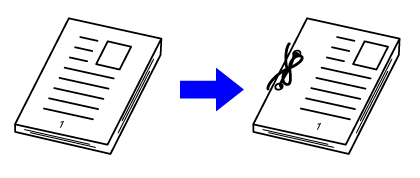
This function shifts the
copy image right, left or down to adjust the margin.
This is convenient when you wish to bind the copies with a
string or in a binder.
Shifting
the image to the right so the copies can be bound at the left edge
| Not using the Margin Shift | Using the Margin Shift |
|---|---|
 |
 |
|
The punch holes cut off part of the image. |
The image is moved to allow space for the holes so the image is not cut off. |
Margin Shift

Place the original.
Place the original in the document feeder tray of the automatic document feeder, or on the document glass.Tap the [Others] key, and tap the [Margin Shift] key.
Tap the image shift direction.
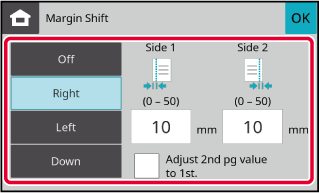
Sets a margin shift width.
Tap the numeric value display indicating the margin shift area on the front side or reverse side, and enter the area using the numeric keys. ,
,
 will appear and the side 1 setting can
be set to the same value as the side 2.
will appear and the side 1 setting can
be set to the same value as the side 2.Tap the [Colour Start] or [B/W Start] key to start copying.
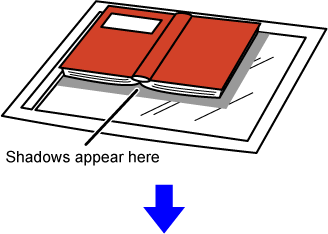
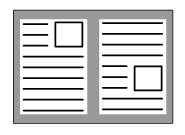
The edge erase function is used to erase
shadows around the edges of copies that occur when copying thick
originals or books.
When
a thick book is copied
| Not using the Edge Erase | Using the Edge Erase |
|---|---|
 |
 |
|
Shadows appear on the copy |
Shadows do not appear on the copy |
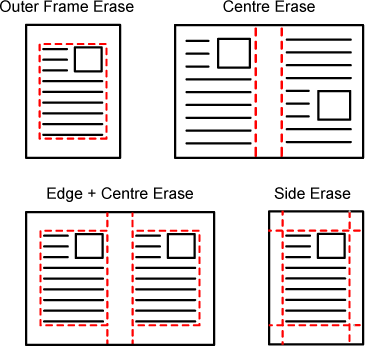
Erase modes (Outer Frame Erase, Centre Erase, Edge + Centre Erase,
Side Erase)
Place the original.
Place the original in the document feeder tray of the automatic document feeder, or on the document glass.Tap the [Others] key, and tap the [Edge Erase] key.
Tap the checkbox of the edge that you wish to erase, and specify the erase position.
Check that the tapped checkbox is set to .
. .
. .
.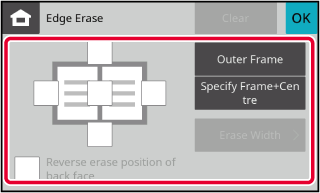
 , the edge in the position opposite to
the erased edge on the front side will be erased.
 , the edge in the same position as on
the front side will be erased.
, the edge in the same position as on
the front side will be erased.Specify the erase width.
Tap the numeric value display indicating the erase width area on the front side or reverse side, and enter the area using the numeric keys. .
.Tap the [Colour Start] or [B/W Start] key to start copying.
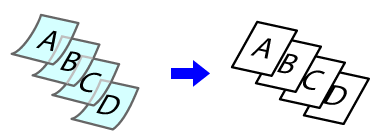
When you wish to scan thin originals using
the automatic document feeder, you can use this function, which
helps prevent thin originals from misfeeding.
Tap the [Others] key, and tap the [Slow Scan Mode] key.
A checkmark appears on the icon.Place the original in the document feeder tray of the automatic document feeder.
AUTOMATIC DOCUMENT FEEDERTap the [Colour Start] or [B/W Start] key to start copying.
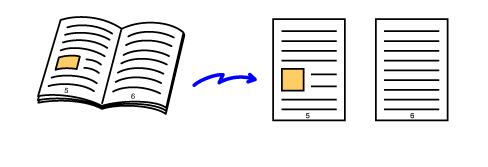
This
function copies the left and right half of an original successively.
This function is useful when making copies of the facing pages of
a book or other bound document.
Copying
the facing pages of a book or bound document
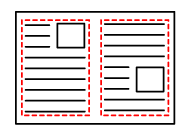
Books and bound documents are copied into 2 separate pages.
Tap the [Others] key, and tap the [Dual Page Copy] key.
A checkmark appears on the icon.Place the original on the document glass.
DOCUMENT GLASS_book(dspf).png)
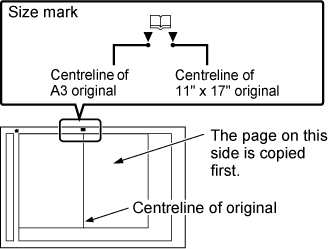
Tap the [Colour Start] or [B/W Start] key to start copying.
You can adjust the background by making
light areas of the original lighter.
The larger the level number in [Background Adjustment], the
lighter the ground colour becomes.
Darkness of the light area can be adjusted by this function.
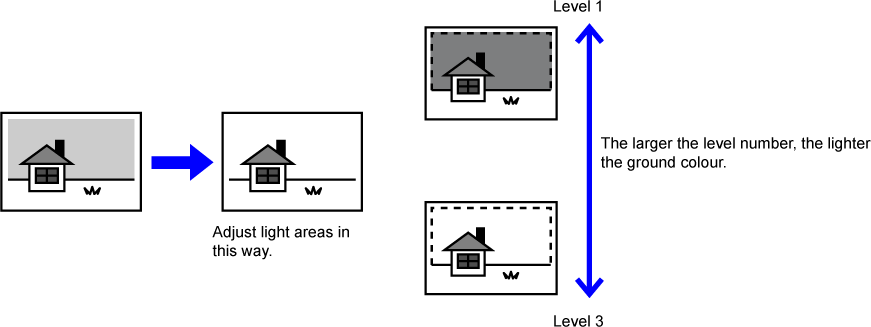
Tap the [Others] key, and tap the [Background Adjustment] key.
Tap the key for the level you want to adjust.
After the settings are completed, tap [OK] in sequence.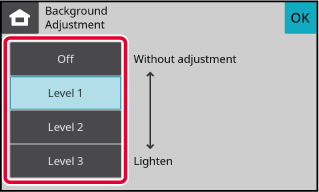
Place the original.
Place the original in the document feeder tray of the automatic document feeder, or on the document glass.Tap the [Colour Start] or [B/W Start] key to start copying.
This function adjusts the resolution when
scanning the original, enabling the high-quality output or speed-priority
output according to the application.
Tap the [Others] key, and tap the [Scan Resolution] key.
Tap the [Colour] or [B/W] tab and select the resolution.
The resolution can be set to both the document feeder and document glass. After the settings are completed, tap [OK] and [Back] keys in sequence.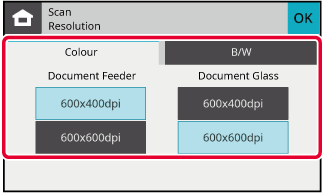
Place the original.
Place the original in the document feeder tray of the automatic document feeder, or on the document glass.Tap the [Colour Start] or [B/W Start] key to start copying.
This function heightens or lightens any one of the three colour
components R (red), G (green), and B (blue).
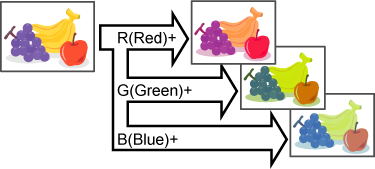
Tap the [Others] key, and tap the [RGB Adjust] key.
Tap the key of the colour you want to adjust.
Tap
 to adjust the colouring.
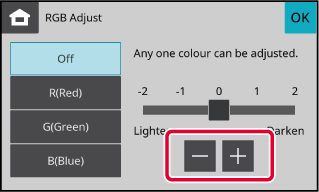
Place the original.
Place the original in the document feeder tray of the automatic document feeder, or on the document glass.Tap the [Colour Start] key to start copying.
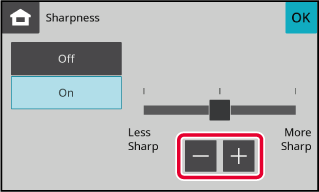
This function adjusts the sharpness to make a sharper or softer
image.
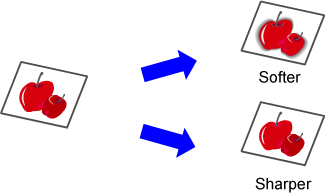
Tap the [Others] key, and tap the [Sharpness] key.
Tap
 to adjust the sharpness.
Place the original.
Place the original in the document feeder tray of the automatic document feeder, or on the document glass.Tap the [Colour Start] or [B/W Start] key to start copying.
Version 05a / bp22c25_usr_05a_en