RETRIEVING A DESTINATION FROM AN ADDRESS BOOK
In the address book screen,
simply tap the one-touch key of a registered destination to retrieve
the destination.
If necessary, store multiple destinations in a one-touch key.
Tapping the key will retrieve all the stored destinations.
The address book screen shows all destinations used in each
mode. Each one-touch key shows the name of the destination and an
icon indicating the mode used for the destination.

|
E-mail
|

|
Scan to FTP
|

|
Scan to Desktop
|

|
Scan to Network Folder
|

|
Group key with multiple destinations
|
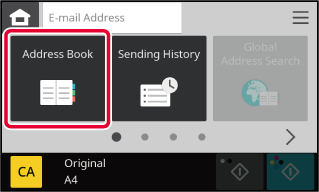
Tap the [Address Book] key.
Tap the one-touch key of contact or group that has a
destination.
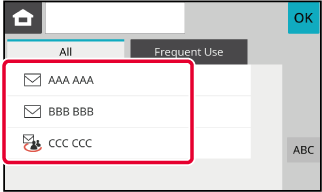
- The destinations
displayed on the list can be narrowed with frequent use and indexes.
- When adding a destination,
tap another one-touch key.
- If two or more destinations
are selected or specified, the total number of addresses appears
next to address.
- Even if only a single
destination is selected, the number of addresses appears when the
destination is a contact or group in which multiple addresses are
stored For more information, see "
ADDRESS BOOK SCREEN".
If
you select an incorrect destination:
Tap the key again to cancel the selection.
- To
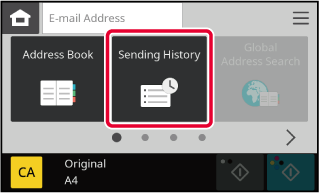
select a destination from the transmission log, tap the [Sending History]
key.
USING A TRANSMISSION LOG TO RESEND
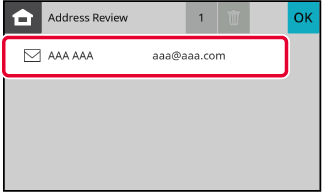
- To check the entered destinations, tap
the [Address Review] key.
VIEWING A LIST OF THE SELECTED DESTINATIONS
- The destination for transmission can be
selected by tapping a stored destination.
- If an
address that you do not have permission to use is included in the
addresses, a message will appear when you press the [B/W Start]
or [Colour Start] key. To send only to the permitted addresses,
press the [OK] key and then the [Enter for send] key.
MY ADDRESS
My Address is the user's own e-mail address,
and is the e-mail address that has been registered in the user list.
My Address can be used when login by login name / password
is enabled in user authentication.
Use this address when you want to send a scanned image to
your own e-mail address.
In E-mail mode, [Find My Address] appears to let you immediately
find and use My Address.
When you use the address book in easy scan screen or E-mail
mode, the [Find My Address] button also appears at the top of the user
list for easy access from the address book.
- My
Address cannot be used in the following instances:
- When
[Disabling of Find My Address] is enabled in the system settings of the Web page
- When user
authentication is disabled, or is only by user number
- When the
e-mail address of the logged in user has not been registered
- After the
[Next Address] key is pressed when [Be sure to press Next Address Key ([+]) before
selecting the next address.] is enabled in System
Settings of the Web page - [Image Send Settings] → [Common Settings] → [Condition
Settings]
- Even if
"Verify Signature of Server Certificate of the Other Party" is enabled
in the system settings of the Web page, when "My Address Search"
is performed only when the search destination is an LDAP server,
the server certificate of the destination is not validated.
VIEWING A LIST OF THE SELECTED DESTINATIONS
When multiple destinations have been selected,
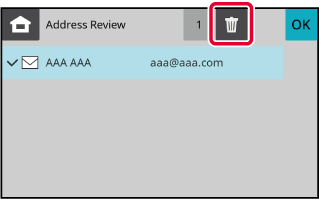
you can display and check the destinations. You can also delete
a destination from the list (cancel selection of the destination).
Confirm the destination.
After the confirmation is completed, tap

.
Deleting Specified Destinations
In step 2 of "VIEWING A LIST OF THE SELECTED DESTINATIONS",
select the destination and tap
.
If you placed the original on the document glass
and tapped the [B/W Start] or [Colour Start] key, you cannot delete
an address when changing settings.
ENTER DESTINATION MANUALLY
The search number can be used to specify
a destination stored in an address book.
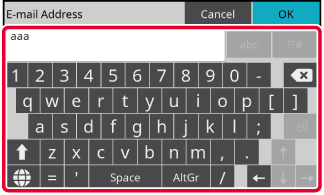
Tap a text box on the basic mode.
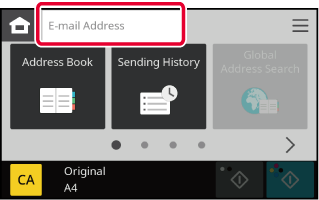
Enter the destination address on the soft keyboard that
appears.
When you have finished entering the destination address, tap

to close the soft keyboard.
RETRIEVING A DESTINATION FROM A GLOBAL ADDRESS BOOK
When an LDAP server is configured in the
"Settings (Web version)", look up an address in a global address
book and retrieve the destination address for Scan to E-mail transmission.
You can add an address retrieved by searching to the address
book.
Even if "Verify Signature of Server Certificate
of the Other Party" is enabled in the system settings of the Web
page, when "Global Address Search" is performed only when the search
destination is an LDAP server, the server certificate of the destination
is not validated.
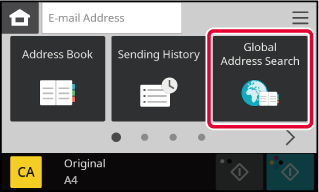
Tap the [Global Address Search] key.
Enter a keyword.
When you tap the keyword entry box, the soft keyboard appears.
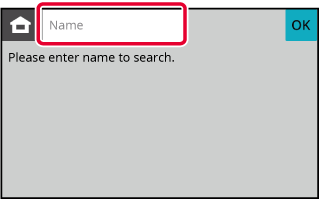
The search results will appear after a brief interval.
How
to searchEnter the search characters (maximum of 64 characters).
The system will look for names starting with the entered letters.
An asterisk

is used as follows:
XXX

: Names beginning with "XXX"

XXX : Names that end with "XXX"

XXX

: Names containing "XXX"
AA

XX : Names that start with "AA" and end
with "XX".
Select the search target.
When the authentication screen to the LDAP server appears,
enter the user name and password.
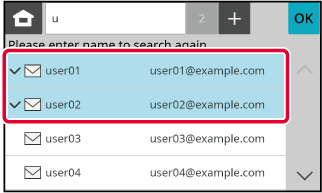
- If
no destination is found:
Tap the
[Search Again] key to add more search letters.
- To continuously
add other destination.
Tap the
destination.
USING A TRANSMISSION LOG TO RESEND
Select a destination from a transmission
log and resend the data.
The destinations of the most recent 10 transmissions are stored.
Select one of these to resend to that destination.
- The
following types of addresses are not stored for resending.
- Group
destinations
- Broadcasting
destinations
- The user
name and password are not stored for security reasons. If a screen
requiring you to enter such information appears, enter the information
again.
Tap the [Sending History] key
Tap the key of the destination to resend.
The last 10 addresses used for transmission are displayed.
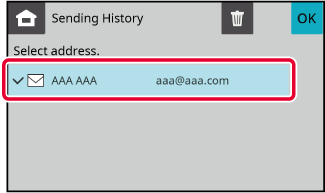
If a screen requiring you to enter the user name and password
appears, enter the information.
To
cancel the resend setting:
Tap the highlighted key.